多个gitlab如何迁移合并配置,以及如何把已有用户体系的gitlab再接入ldap认证
Contents
一 背景说明
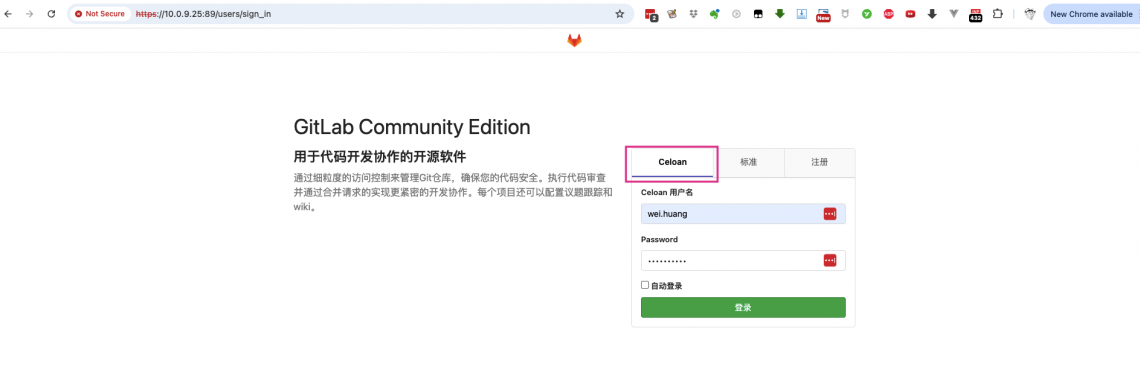
因为一些莫名其妙的原因,公司内部有2个gitlab实例:10.0.9.25和10.0.9.163,且都有项目代码。其中,IP尾数是163的gitlab接入了ldap认证的用户系统,托管的项目比较少30多个。25这个gitlab上的用户是手工创建的,没有接入ldap,且托管了400多个项目的代码。现在的需求是,把163上的项目全部迁移至25服务器上,且25服务器上接入ldap认证。接入ldap的好处就是,在ldap上统一维护一套用户体系,其它系统接入ldap之后,就不再需要另外维护用户了。且,公司内部其它子应用诸如wiki,jira,Jenkins,grafana等,都可以接入ldap。对于,团队里人员变动,只需要在ldap里设置用户状态,其它系统里用户状态就会自动跟着变。
二 如何获取每个gitlab下所有的项目
可以通过gitlab提供的API来实现。首先,以管理员登录web页面,生成可以通过API访问的token,然后通过curl来进行API访问,获取所有项目信息。
1 生成access token
http://10.0.9.163/profile/personal_access_tokens
输入用户名,选择token类型为API,然后生成:
ai3LypuDHeQ5c64xdTcQ
2 通过access token经由gitlab api获取所有projects
curl命令行工具,带上token,以及gitlab服务器的信息,默认情况下API访问地址应该类似于“http://10.0.9.163/api/v4/projects”。但是,该情形下,只能获取1页,且至多只有20个项目的信息。如果项目超过20个,则需要分页,所以带有per_page和page参数来获取多页,以便可以获取所有项目信息。
[root@jenkins76 tmp]# curl  --header "PRIVATE-TOKEN:ai3LypuDHeQ5c64xdTcQ"   "http://10.0.9.163/api/v4/projects?per_page=200&page=1" >163.json
  % Total    % Received % Xferd  Average Speed   Time    Time     Time  Current
                                 Dload  Upload   Total   Spent    Left  Speed
100 84653  100 84653    0     0   9605      0  0:00:08  0:00:08 --:--:-- 23469
[root@jenkins76 tmp]# ll
total 1120
-rw-r--r--  1 root root  84653 Sep  4 14:13 163.json
如下,由于25gitlab服务器上有400多个项目,所以,在通过API访问服务器,获取项目时,使用了分页的方式:通过per_page和page选项,来获取所有projects。默认情况下,每页只展示20个项目。
[root@jenkins76 tmp]# curl  --header "PRIVATE-TOKEN:4gu4WFfzteX2gsYdWx1k"  -k "https://10.0.9.25:89/api/v4/projects?per_page=200&page=1" >p1.json
...
...

[root@jenkins76 tmp]# curl  --header "PRIVATE-TOKEN:4gu4WFfzteX2gsYdWx1k"  -k "https://10.0.9.25:89/api/v4/projects?per_page=200&page=6" >p6.json
3 JSON文件转为Excel
通过JSON转Excel在线工具,将163.json文件转成Excel。https://uutool.cn/json2excel/
4 参考地址:
https://archives.docs.gitlab.com/15.10/ee/api/rest
https://worktile.com/kb/ask/259761.html
http://kw.dataea.cn/2017/06/20/gitlab-api/
三 如何将项目从一个gitlab迁移合并到另一个gitlab
这里,把163上所有的项目,迁移合并到25服务器上。步骤比较简单,现在163上把项目export出来,然后在25服务器上执行import即可。
1 导出项目
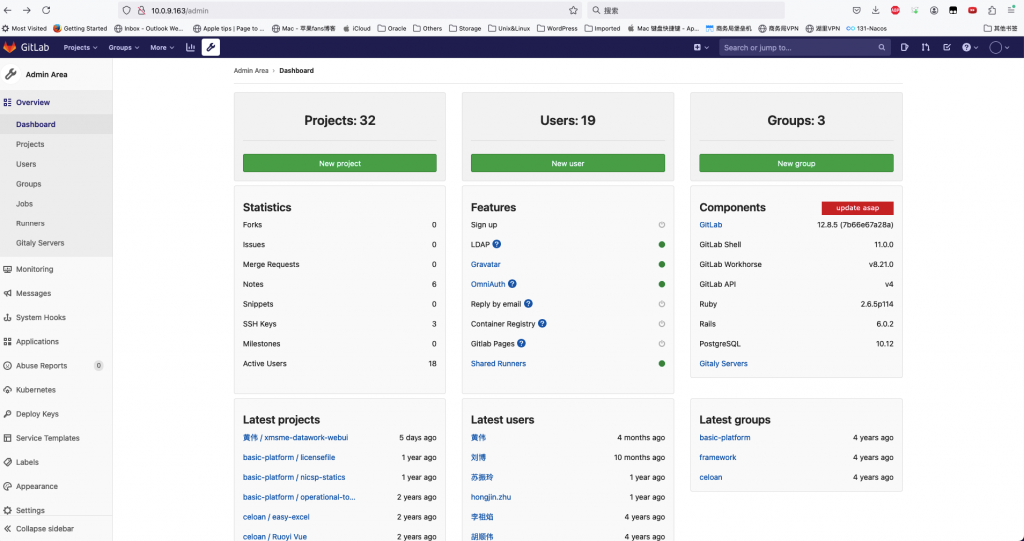
以管理员身份登录10.0.9.163机器的Gitlab:http://10.0.9.163/admin
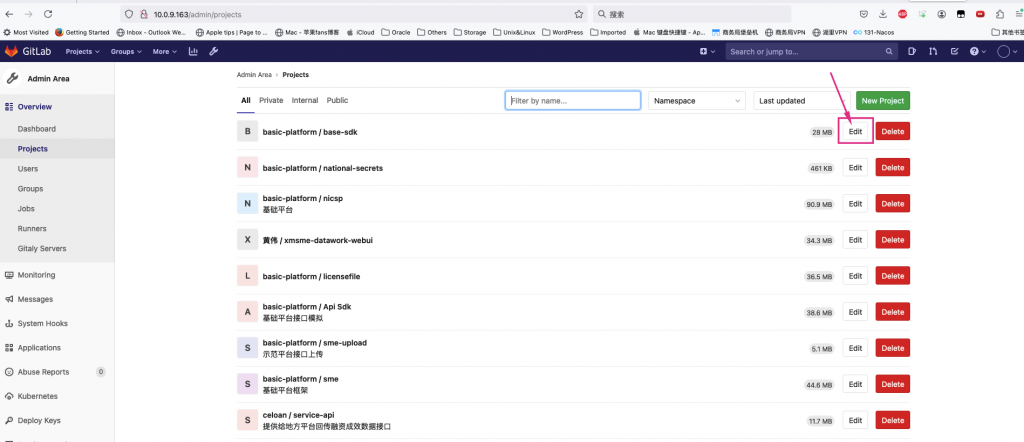
选择项目,点击edit:
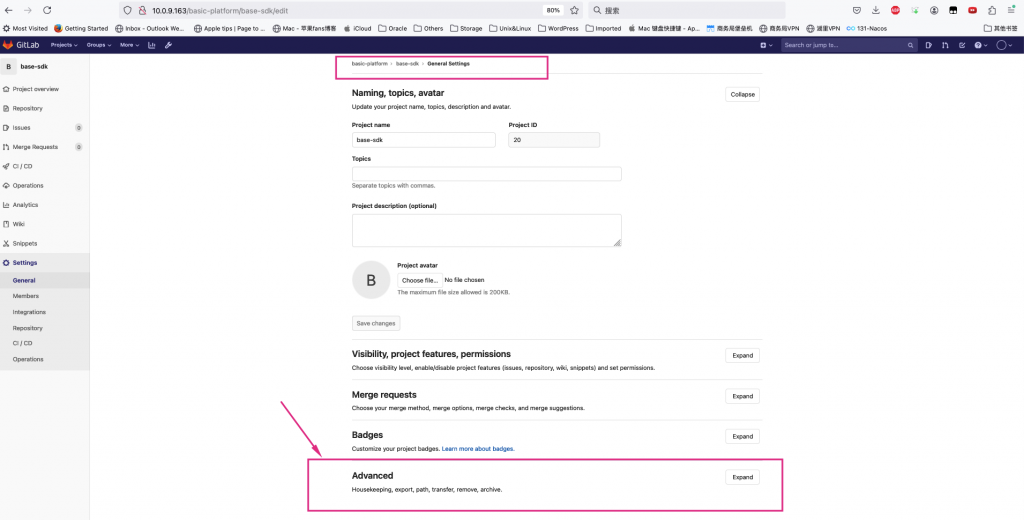
点击Advanced选项:
在Export project下,选择导出项目,我这里已经导出过,所以,可以看到Download export选项。
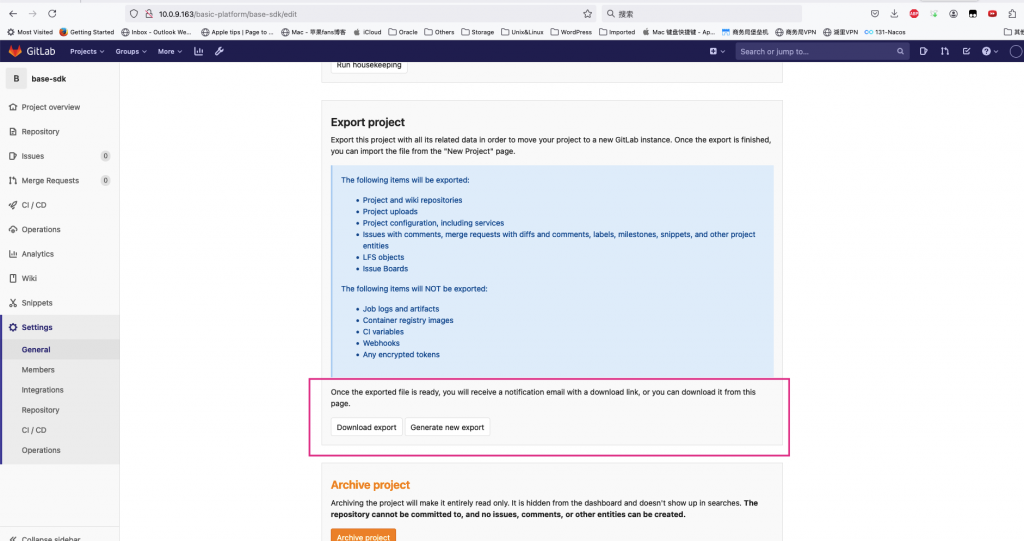
选择导出项目之后,页面上会有个提示:Project export started. A download link will be sent by email.
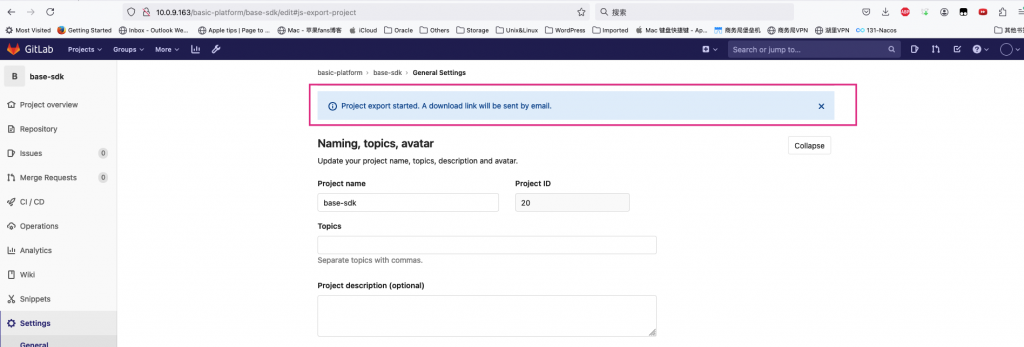
如果有在gitlab里配置邮箱的话,可以收到邮件提醒。没有配置的话,需要重新刷新页面,然后点击Advanced,可以看到上面说的download export选项,进行下载。
2 导入项目
以管理员身份登录10.0.9.25 gitlab的web界面,https://10.0.9.25:89/admin 依次选择新建项目,导入项目,
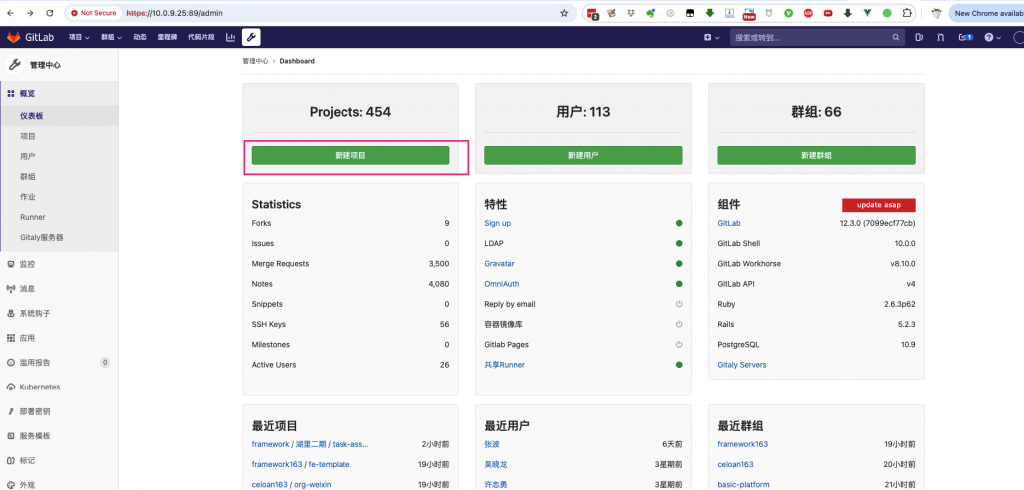
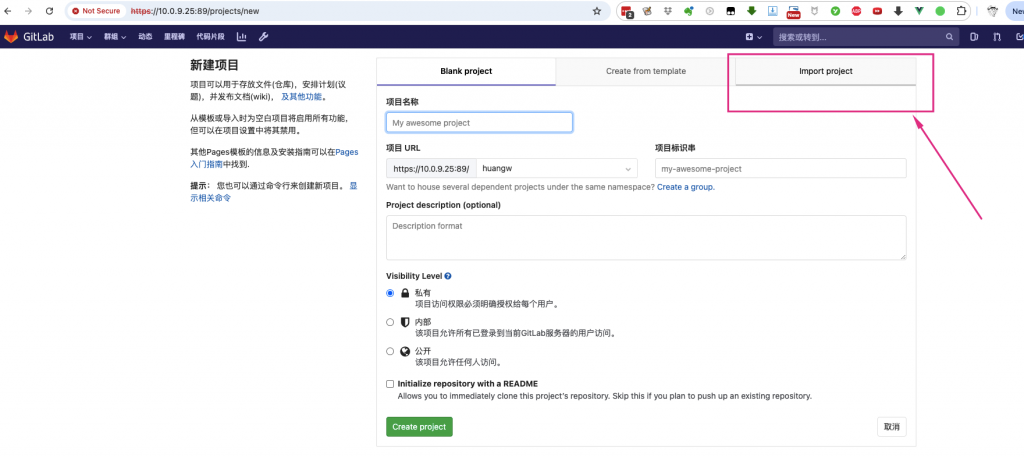
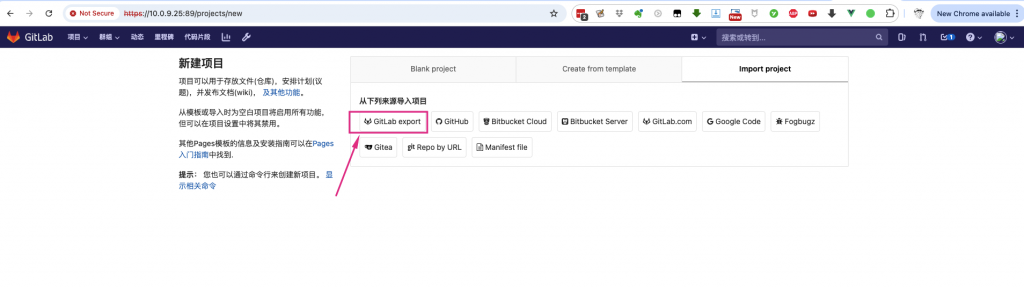
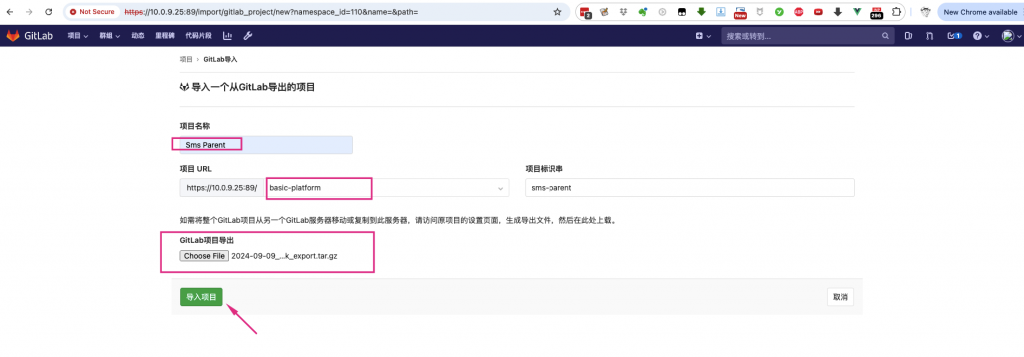
填入对应的项目名称,选择对应的namespace,选择导出的项目gz压缩包文件,点击导入项目即可。
3 注意事项
目标gitlab上导入时,项目名称保持和源gitlab一致,namespace也和源gitlab的namespace一致。
四 现有的gitlab已经有用户,如何启用ldap
10.0.9.25 gitlab已经有用户,如何接入ldap呢?
1 修改gitlab配置文件
在/etc/gitlab/gitlab.rb配置文件中,添加下述配置信息:
...
gitlab_rails['ldap_enabled'] = true
...
# EOS
gitlab_rails['ldap_servers'] = YAML.load <<-'EOS'
  main:
    label: 'Celoan'
    host: '10.0.9.163' //openldap的服务器IP
    port: 389
    uid: 'uid'
    bind_dn: 'cn=admin,dc=celoan,dc=cn'
    password: '密码'
    encryption: 'plain'
    active_directory: true
    allow_username_or_email_login: false
    block_auto_created_users: false
    base: 'ou=users,dc=celoan,dc=cn'
    user_filter: ''
    attributes:
      username: 'uid'
      email:    'mail'
      name:      'cn'
      first_name: 'givenName'
      last_name:  'sn'
EOS
...
2 执行gitlab-ctl reconfigure使之生效
[root@dbserver gitlab]# gitlab-ctl reconfigure
Starting Chef Client, version 14.13.11
....
Running handlers:
Running handlers complete
Chef Client finished, 3/696 resources updated in 40 seconds
gitlab Reconfigured!
[root@dbserver gitlab]# gitlab-rake gitlab:ldap:check
3 验证gitlab是否可以读取openldap的用户体系
[root@dbserver gitlab]# gitlab-rake gitlab:ldap:check
Checking LDAP ...

LDAP: ... Server: ldapmain
LDAP authentication... Success
LDAP users with access to your GitLab server (only showing the first 100 results)
        DN: uid=bo.liu,ou=users,dc=celoan,dc=cn  uid: bo.liu
        DN: uid=test01,ou=users,dc=celoan,dc=cn  uid: test01
        DN: uid=test02,ou=users,dc=celoan,dc=cn  uid: test02
        DN: uid=test03,ou=users,dc=celoan,dc=cn  uid: test03
        ....
        DN: uid=shuichang.jiang,ou=users,dc=celoan,dc=cn         uid: shuichang.jiang

Checking LDAP ... Finished

[root@dbserver gitlab]#
从上,看到gitlab可以顺利读取ldap用户体系。
4 验证gitlab服务和状态
执行gitlab-ctl status和gitlab-ctl service-list命令来验证:
[root@dbserver gitlab]# gitlab-ctl status
run: alertmanager: (pid 1854) 67685s; run: log: (pid 1850) 67685s
run: gitaly: (pid 1831) 67685s; run: log: (pid 1830) 67685s
run: gitlab-exporter: (pid 1852) 67685s; run: log: (pid 1851) 67685s
run: gitlab-workhorse: (pid 1841) 67685s; run: log: (pid 1840) 67685s
run: grafana: (pid 8515) 67301s; run: log: (pid 1861) 67685s
run: logrotate: (pid 16774) 3086s; run: log: (pid 1865) 67685s
run: nginx: (pid 8506) 67302s; run: log: (pid 1834) 67685s
run: node-exporter: (pid 1853) 67685s; run: log: (pid 1849) 67685s
run: postgres-exporter: (pid 1863) 67685s; run: log: (pid 1862) 67685s
run: postgresql: (pid 1845) 67685s; run: log: (pid 1842) 67685s
down: prometheus: 0s, normally up, want up; run: log: (pid 1847) 67685s
run: redis: (pid 1859) 67685s; run: log: (pid 1858) 67685s
run: redis-exporter: (pid 1848) 67685s; run: log: (pid 1846) 67685s
run: sidekiq: (pid 8255) 67320s; run: log: (pid 1864) 67685s
run: unicorn: (pid 8791) 67285s; run: log: (pid 1832) 67685s
[root@dbserver gitlab]# gitlab-ctl service-list
alertmanager*
gitaly*
gitlab-exporter*
gitlab-workhorse*
grafana*
logrotate*
nginx*
node-exporter*
postgres-exporter*
postgresql*
prometheus*
redis*
redis-exporter*
sidekiq*
unicorn*
[root@dbserver gitlab]#
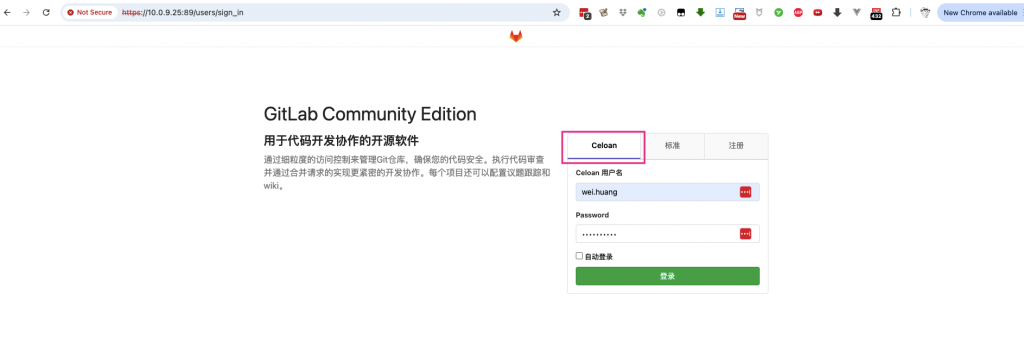
5 通过ldap来访问gitlab
6 报错处理
Could not authenticate you from Ldapmain because “Undefined method `provider’ for nil:nilclass”.
通过ldap登录gitlab,如果遇到类似错误,多半原因是原来在gitlab里创建的用户的邮箱,和该用户在ldap里设置的邮箱不一致导致。解决办法,修改gitlab底层使用的数据库users表里的email字段:
[root@dbserver gitlab]# gitlab-psql
psql (10.9)
Type "help" for help.

gitlabhq_production=# \c
You are now connected to database "gitlabhq_production" as user "gitlab-psql".
gitlabhq_production=# update users set email='huangw@xmjyjt.com' where id=76;
UPDATE 1
gitlabhq_production=#
然后,重新登录即可。
五 参考链接
https://blog.csdn.net/mshxuyi/article/details/126699098
https://blog.csdn.net/Michaelwubo/article/details/126868151
https://blog.csdn.net/aixiaoyang168/article/details/80254375
https://lisz.me/tech/webmaster/ldap-gitlab.html